Introduction
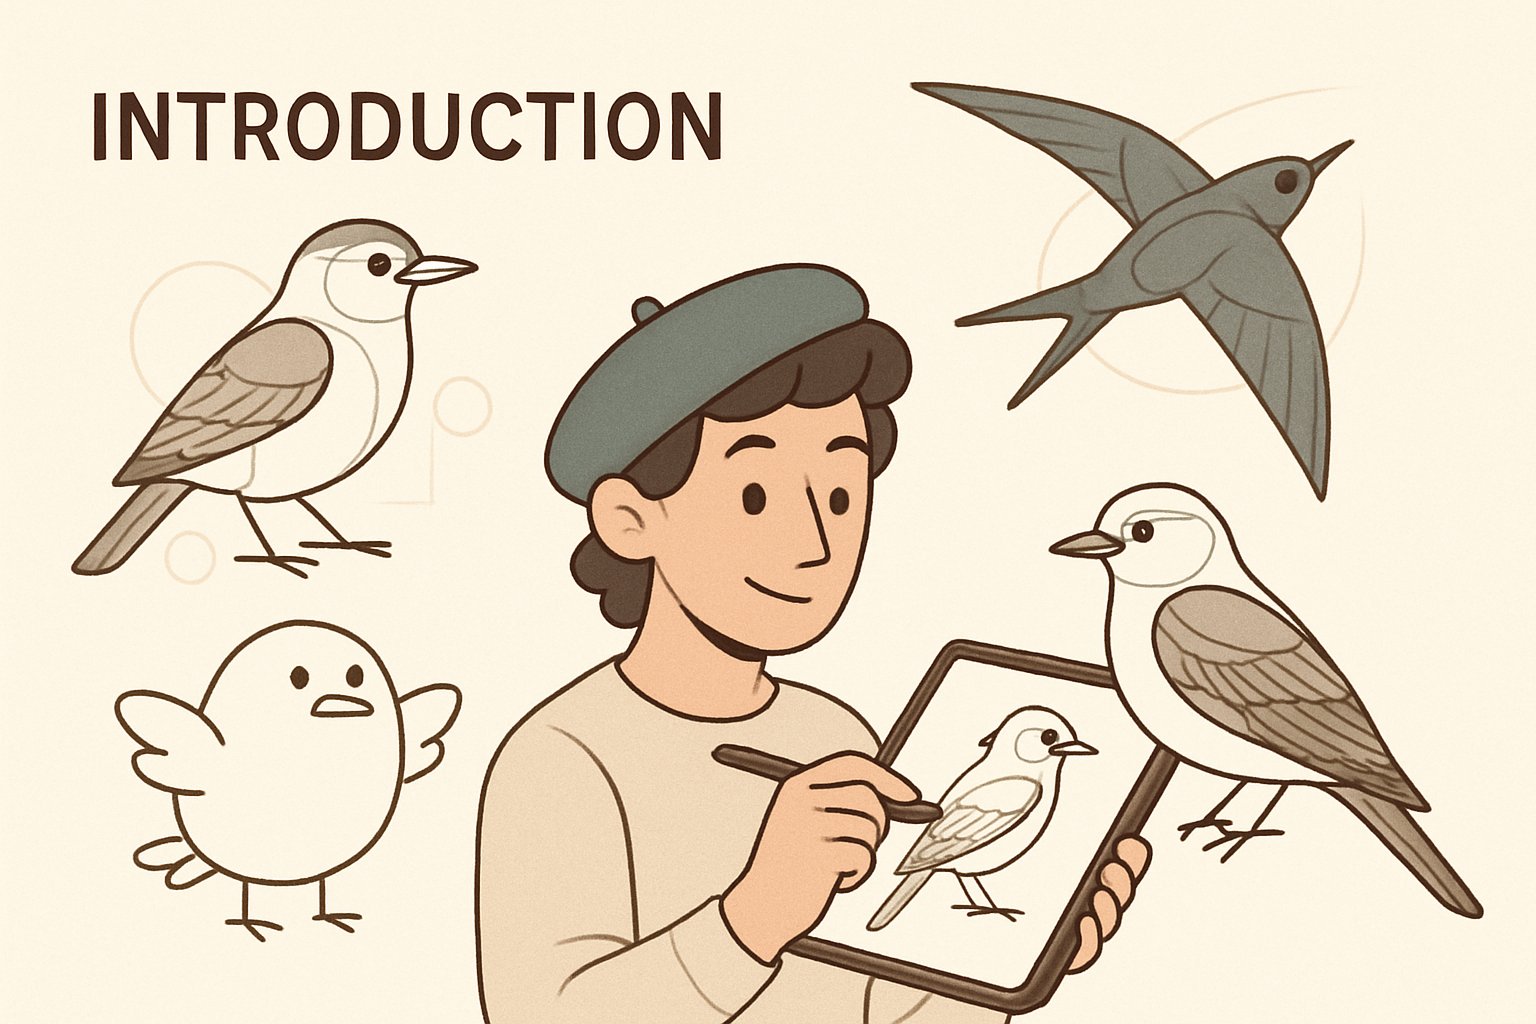
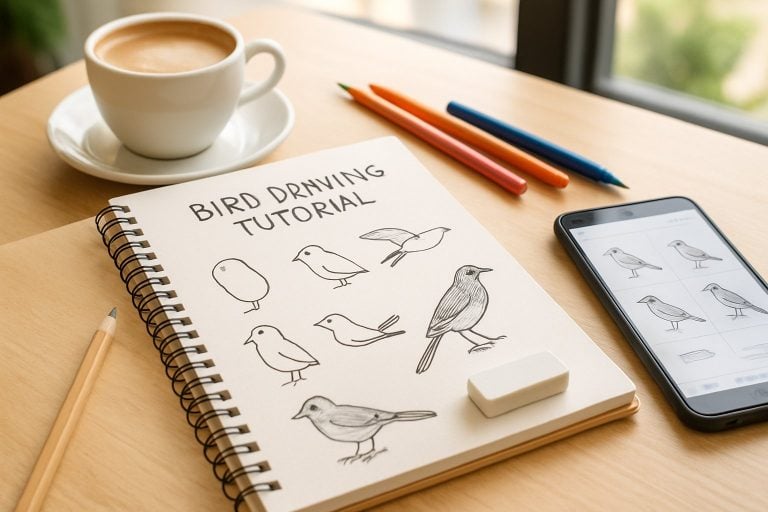
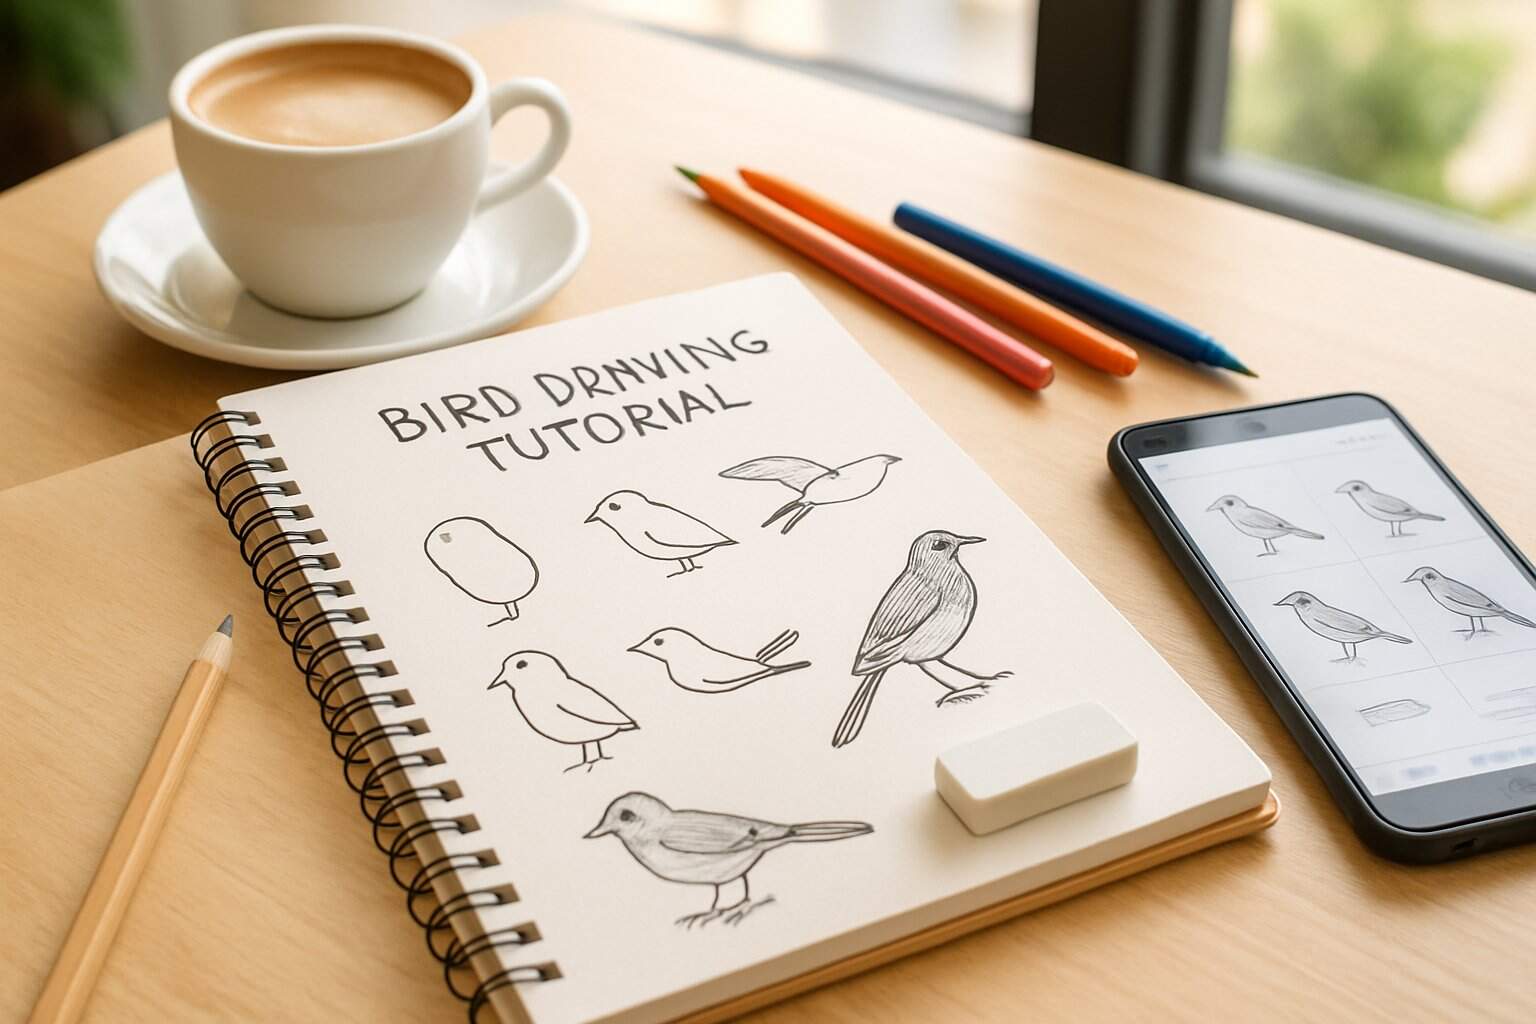
If you’ve ever tried sketching a mynah or a swift and ended up with a potato-with-wings, jangan risau. This quick guide shows you how to draw a bird using simple shapes, feather groups, and easy mobile-first reference tricks. You’ll keep costs low (RM-friendly supplies) and build skills you can use anywhere, from a cafe in KL to a park in Penang. For a fuller walkthrough that you can bookmark, check out how to draw a bird and keep practicing with the latest 2025 tips.
Introduction to Drawing Birds
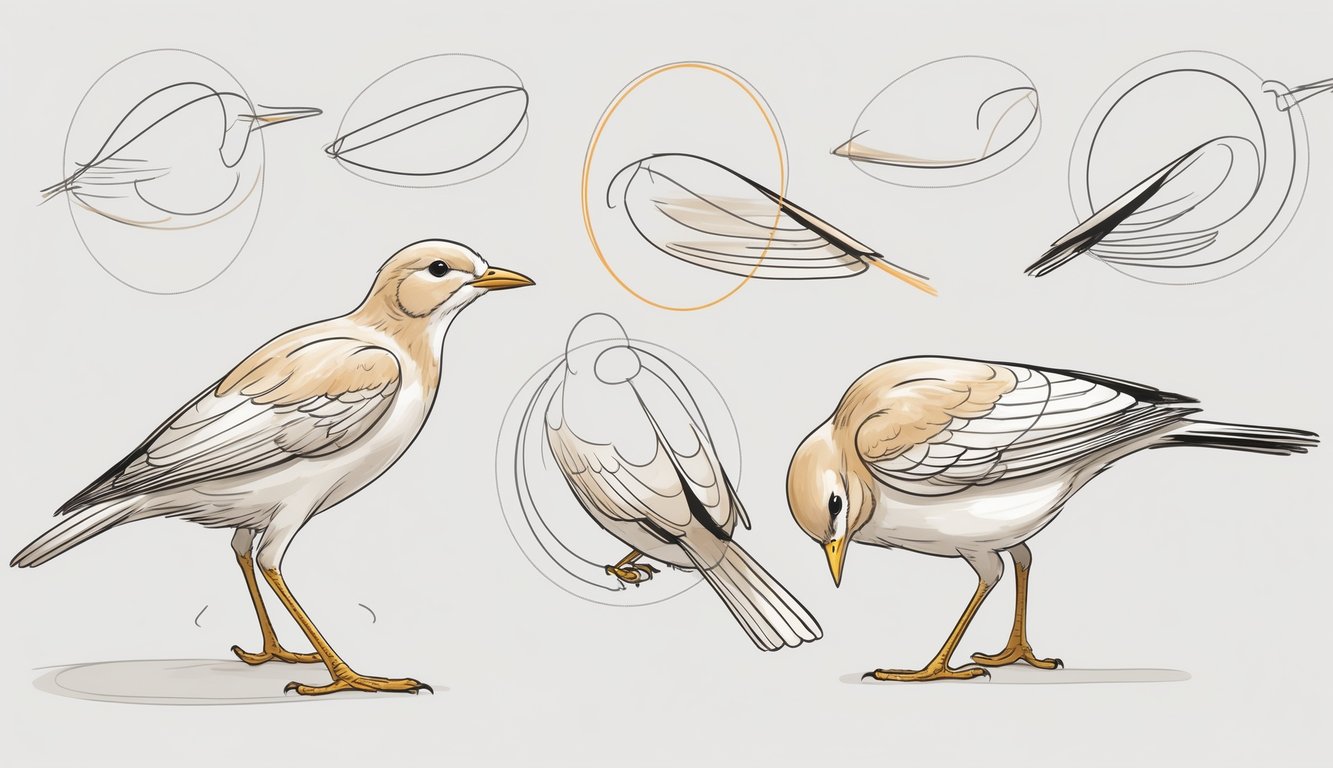
Birds look complex because they’re basically sleek aerodynamics wrapped in feathers. The solution is to reduce what you see into clear, repeatable steps. You’ll start with a flow line, block basic shapes, note key joints, and group feathers so you shade smarter, not harder. Once you see the logic, you’ll draw more confidently and faster, even on your phone or a small sketchpad.
Using Photographs to Help You Understand Birds
Your phone is your best field tool, lah. Snap quick photos or screen-capture short clips, then zoom in to study the head angle, wing bend, and tail spread. Create a mini album for different poses—perched, gliding, preening—so you can compare shapes and pick references that match your drawing goal. This approach not only helps in understanding the anatomy but also allows you to capture subtle details like feather textures and lighting effects that are crucial for realistic bird drawings. Moreover, organizing your references digitally makes it easy to access them anytime, enhancing your mobile sketching sessions.
Start with the Basic Shape
Begin with a light gesture line that shows the bird’s overall action—perched upright, banking left, or stretching forward. Add simple volumes: a circle or oval for the head, an egg or teardrop for the body, and a wedge for the tail. Keep these marks light so you can nudge proportions; this under-structure is your map, not the final lines. Refining these basic shapes early on ensures that your bird drawing maintains accurate proportions throughout the process. As you practice, you’ll find that this foundational step speeds up your workflow and reduces errors in later stages.
Look Below the Surface
Even a rough sense of the skeleton helps you place things accurately. Imagine the skull, the hinge of the beak, the S-curve of the neck, and the shoulder where the wing pivots. Mark the angle from shoulder to wrist to wingtip; this lets you hang feathers across a believable framework instead of guessing later. Understanding the underlying anatomy also aids in depicting movement and posture more convincingly in your bird sketches. By visualizing these internal structures, you can create drawings that feel dynamic and lifelike, even for beginners learning how to draw a bird.
Learn to See Feather Groups
Don’t draw every feather, bro—group them. On the wing, primaries form the outer flight feathers, secondaries sit closer to the body, and coverts overlap like shingles. On the body, treat the chest, back, and tail as major panels; shade each group as one form first, then add only key separations where light or pattern demands. This grouping technique simplifies the complexity of bird plumage, making it easier to achieve realistic textures without overwhelming detail. Practicing this method will improve your efficiency and help in mastering bird drawing techniques over time.
Birds are Shape Shifters
One bird can look chunky when fluffed and razor-thin when streamlined. Always capture the silhouette first: big head vs. small head, long tail vs. stubby tail, tall stance vs. squat. If the pose changes, re-check your gesture and major shapes; a two-second correction here saves twenty minutes of fixing feather details later. Recognizing these variations in shape helps in adapting your drawings to different species and behaviors. This awareness is key to creating versatile and accurate bird illustrations that capture the essence of your subject.
Drawing Specific Birds
Different species carry their weight in different places, so proportions shift. Hawks are athletic with broad wings and longer tails for steering, while owls carry more mass up top with a big, forward-facing head. Use the same shape logic, but tweak the silhouette and landmarks to fit the species vibe. This tailored approach ensures your bird drawings are not only accurate but also expressive of each bird’s unique characteristics.
Now Let’s Try Hawks!
Sketch a streamlined teardrop body with a slightly smaller oval head and a long, steering tail. Block the wing as a tapered triangle, then mark the wing joints so you can angle the primaries correctly when the bird glides or banks. Keep the chest powerful, the legs tucked, and hint at the hooked beak with a sharp, confident line. Adding details like feather patterns on the wings can enhance the realism of your hawk drawing. Remember to observe reference photos to capture the fierce expression in the eyes, which is characteristic of raptors.
Now Let’s Draw Owls
Start with a large, rounded head and a compact, barrel-like body perched upright. Indicate the facial disk as a soft oval, then add two big, forward-facing eyes and a small, down-pointing beak nestled between them. Keep the wings close to the body, the tail short, and use gentle shading to suggest fluffy, sound-absorbing feathers. To make your owl drawing more engaging, incorporate subtle color variations in the plumage for depth. Focusing on the symmetrical face helps in achieving that iconic owl stare that captivates viewers.
Learn How to Draw Birds in Colored Pencil
Colored pencil is perfect if you want rich color without messy cleanup, and it’s very mobile-friendly. Pick a mid-tooth paper so layers can build without waxy clogging. Start with light pressure to lay local color, glaze complementary tones to neutralize oversaturation, and reserve a sharp pencil for crisp edges around the beak, eye ring, and feather tips. For naturals like sparrows or bulbuls, a palette of warm browns, cool grays, and a few accent colors (ochre, olive, ultramarine) covers most needs. Keep a kneaded eraser for lifting highlights, and blend with gentle layering rather than hard burnishing until the final pass.
When selecting materials for colored pencil bird drawings, consider student-grade colored pencils in a set of 24 to 36 colors, which provide an affordable range of earth tones and blues ideal for layering practice, typically costing between RM40 and RM90. A mid-tooth sketch pad in A5 or A4 size holds layers without over-smoothing and is portable for cafe sketching, available for RM15 to RM35. Don’t forget a kneaded eraser and sharpener, which help lift highlights cleanly and keep tips crisp for feathers, priced at RM10 to RM20. These budget-friendly options ensure you can start drawing birds without a large investment.
To keep colors lively, work from light to dark and from broad masses to fine accents. Squint to see the main color blocks on the head, chest, wings, and tail; unify each block with a light glaze, then add directional strokes that follow feather flow. Finish with selective burnishing on focal points like the eye sparkle and the beak edge so the viewer’s attention goes exactly where you want, syiok. This technique not only enhances the vibrancy of your bird artwork but also improves overall composition and realism.
Bird Drawing Workshops
If you want faster progress, look for short bird-drawing sessions at community studios, weekend sketch-walks, or online meetups. A good workshop balances quick gesture drills with focused studies of heads, wings, and feet, so you build both speed and accuracy. Bring a compact kit—2B pencil, a few colored pencils, A5 pad, and a clip board—so you can move easily and sketch more. In Malaysia’s heat, keep a small towel and water bottle so you stay comfy and consistent. Most beginner-friendly sessions are affordable, and even a single afternoon can help you clean up your shapes and avoid overworking feathers. Participating in these workshops also provides opportunities to learn from experienced artists and receive personalized feedback on your bird drawing techniques.
FAQs
What’s the simplest way to start a bird drawing?
Begin with a gesture line that shows the bird’s action, then add an oval for the head, an egg for the body, and a wedge for the tail. Place the wing by marking shoulder, wrist, and wingtip so feather groups have a scaffold. Keep lines light until the proportions feel right, baru tekan darker for details. This method provides a strong foundation for any bird sketching project. As you gain confidence, you can experiment with different poses to expand your skills.
How do I draw wings in motion without getting lost?
Think in three beats: shoulder to wrist, wrist to wingtip, then add the primaries as a single tapering fan. Indicate the main arc of the wing first, then group primaries and secondaries with broad shading before splitting a few edges. If the pose changes, re-check the big triangle of the wing so everything stays believable. Practicing with reference images will help you master dynamic wing positions over time. Remember, consistency in your approach leads to more fluid and natural-looking drawings.
What affordable tools should I buy first in Malaysia?
Start with a 2B pencil, an A5 mid-tooth pad, a kneaded eraser, and a 24-color student-grade colored pencil set. That small kit usually stays under RM120 and covers gesture, structure, and basic color. Upgrade paper or add a few higher-pigment pencils only when you feel your layers are capping out. These essentials are widely available in local art stores and online. Building your kit gradually allows you to focus on technique without overwhelming costs.
About The Author